How to Set Up SLA App Notifications in Microsoft Dynamics 365 Customer Service
A complete guide to configuring SLA breach and warning notifications in Dynamics 365 Customer Service — from native SLA KPIs to Power Automate push alerts .
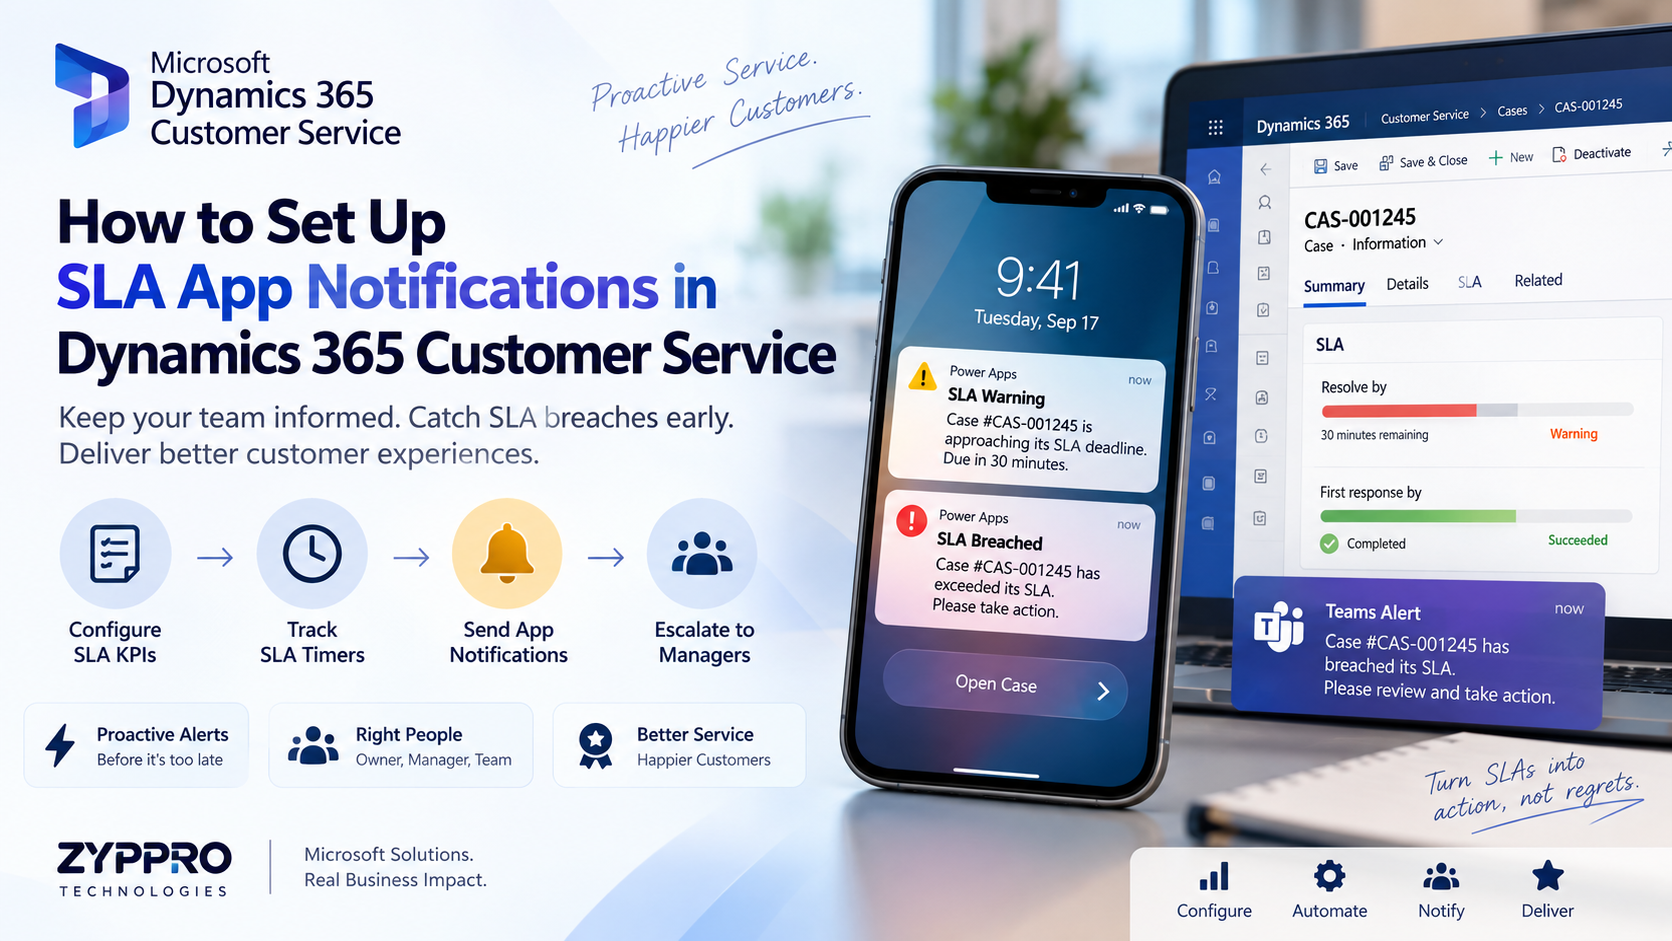
How to Set Up SLA App Notifications in Microsoft Dynamics 365 Customer Service
Every support team makes a promise, whether it's written into a contract or just implied by good service: cases get handled within a set window. In Dynamics 365 Customer Service, that promise is tracked through SLAs (Service Level Agreements) — but tracking a deadline is only half the job. The other half is making sure the right agent knows about it before it's missed, not after a customer complains.
This guide walks through configuring SLA-based app notifications end to end, using Dynamics 365's native SLA engine paired with Power Automate for real push delivery to mobile devices.
Why Native SLA Timers Aren't Enough on Their Own
Dynamics 365 Customer Service ships with a built-in SLA timer control on the case form — a visual countdown showing time remaining before a "Warning" or "Failure" KPI is triggered. It's useful, but it has one major limitation: it only works if someone is actively looking at the record.
An agent who's mid-call on another case, or who's stepped away from their desk, gets nothing. That's the gap app notifications close — the SLA clock keeps running in the background, and the moment it crosses a threshold, an alert reaches the agent wherever they are.
Step 1: Configure the SLA Record Itself
Before any notification logic can fire, the underlying SLA needs to be built correctly in Dataverse.
Set Up SLA KPIs
Navigate to Customer Service Admin Center → Service Terms → SLA KPIs, and define at least two KPI types:
- First Response by — tracks time until first agent response
- Resolve by — tracks time until case resolution
Each KPI needs a Warning percentage (commonly 75–80% of total allotted time) and a Failure point (100% of allotted time). This two-stage structure is what lets you send an early nudge and a hard escalation later, rather than a single alert that arrives too late to act on.
Define SLA Items by Case Priority
Under SLA Items, create separate entries per priority tier — Critical, High, Normal, Low — each with its own applicable time. A Critical case might carry a 1-hour first-response target; a Low priority case might allow 24 hours. This is what makes the SLA dynamic rather than a flat, one-size-fits-all timer.
Step 2: Enable Dataverse Change Tracking for SLA Status
For notifications to fire automatically, Power Automate needs a reliable trigger point. The SLA KPI Instance table in Dataverse updates its Status field (In Progress, Succeeded, Nearing Non-Compliance, Failed) as the timer progresses — this status change is exactly what you'll hook into.
Make sure change tracking is enabled on this table (Power Apps → Tables → SLA KPI Instance → Settings → Enable change tracking), since the Power Automate trigger relies on it to detect status transitions efficiently instead of polling.
Step 3: Build the Power Automate Flow
This is where the actual notification gets dispatched. Create a new automated cloud flow.
Trigger
Use "When a row is added, modified or deleted" (Dataverse connector), scoped to the SLA KPI Instance table, filtered to trigger on Status field changes.
Condition
Branch the flow based on the new status value:
- If
Status = Nearing Non-Compliance→ send a warning-tier notification - If
Status = Failed→ send a breach-tier notification, escalated to the case owner's manager as well as the owner
Notification Action
For mobile push delivery, use the Power Apps notification (V2) action if your agents use the Power Apps mobile app, or the "Send a mobile notification" connector action if you're pushing through a custom app. Configure it with:
- Recipient: dynamic value pulled from the case's
Ownerlookup - Title: something concise, e.g.,
SLA Warning: Case #{caseNumber} - Body: include the case subject and remaining time, e.g.,
Due in 30 minutes — {subject} - Deep link: pass the case record URL so tapping the notification opens the record directly, not just the app's home screen
Avoiding Duplicate Alerts
Add a check before sending: query whether a notification has already been sent for this specific KPI instance and status combination, and only proceed if it hasn't. Without this, a flow re-trigger (which can happen on unrelated field updates to the same row) will spam the same alert repeatedly.
Step 4: Escalation Routing for Breached SLAs
A warning notification should go to the case owner. A breach notification should go further — most teams route breach alerts to a team lead or manager, not just the original agent, since a breach usually means something needs intervention beyond "please hurry."
Add a parallel branch in your flow: alongside the mobile push to the owner, include a Teams adaptive card or an email connector action targeting the case's team queue owner or a fixed escalation distribution list. This gives you both an individual nudge and a visibility layer for management, without needing two separate flows.
Step 5: Test Against Real SLA Timers
Before rolling this out broadly, create a test case with a short SLA window (a few minutes, using a temporary test SLA item) to confirm the full chain fires correctly — KPI status change, flow trigger, notification delivery, and correct deep-linking. It's much easier to catch a misconfigured condition branch in a 5-minute test cycle than to discover it three weeks later when a real customer's SLA quietly breaches with no alert sent.
Common Pitfalls to Avoid
- Forgetting to enable change tracking on the SLA KPI Instance table — the flow simply won't trigger reliably without it.
- Using a single KPI stage instead of two — teams that skip the "Warning" tier and only alert on "Failed" lose the entire point of proactive alerting; by the time it fires, the SLA is already broken.
- Hardcoding a single recipient instead of using the dynamic case owner field — this breaks the moment case assignment changes.
- No duplicate-suppression logic — leads to notification fatigue, which trains agents to ignore the alerts entirely.
Wrapping Up
SLA app notifications aren't a single Dynamics 365 feature you toggle on — they're a small system built from three native pieces: SLA KPIs for the timing logic, Dataverse change tracking for the trigger, and Power Automate for the actual delivery and escalation routing. Get the two-stage warning/failure structure right, and your team catches breaches before customers ever notice the clock ran out.
If your team is running Dynamics 365 Customer Service and wants this SLA notification pipeline (or a more advanced version with Teams escalation, custom mobile app push, or multi-tier routing) built out properly, Zyppro's CRM & Business Applications team handles exactly this kind of configuration work end to end.
For teams already exploring broader automation around their SLA and case data — beyond just notifications — our Power Platform & Automation services cover everything from custom Power Automate flows to full AI-assisted triage systems.
And if this is part of a larger Dynamics 365 or Dataverse setup you're planning, our Microsoft Business Solutions team can scope the whole implementation, not just the notification layer.
Got a project like this in mind? Tell us what you're building — any size, any budget.